Perfect Camp Coffee with the AeroPress Go!
This article was updated on March 6, 2025 with updated information regarding my usage of an AeroPress Go
As an avid backpacker and camper, I’ve experimented with dozens of ways to brew coffee in the outdoors. Nothing beats that first cup of coffee while enjoying the morning view from camp. The AeroPress Go has transformed my backcountry coffee routine by delivering excellent coffee quality without sacrificing practicality in the field.

Why the AeroPress Go Dominates the Backcountry
The AeroPress Go eliminates the compromise between quality and convenience that plagues most camp coffee methods. The complete system—mug, accessories, and 20 paper filters—weighs just 324 grams. Switch to a reusable metal filter and shave off even more weight without sacrificing performance. When every gram matters on a multi-day trek, this efficiency makes a significant difference.
Durability remains non-negotiable for wilderness equipment, and the AeroPress Go delivers impressively. Created by Alan Adler, the same engineer behind the legendary Aerobie Flying Disc, this brewing system withstands the punishment of trail life. The high-strength plastics maintain structural integrity through temperature extremes and inevitable drops. My original AeroPress from 2009 still performs flawlessly after countless adventures across three continents.
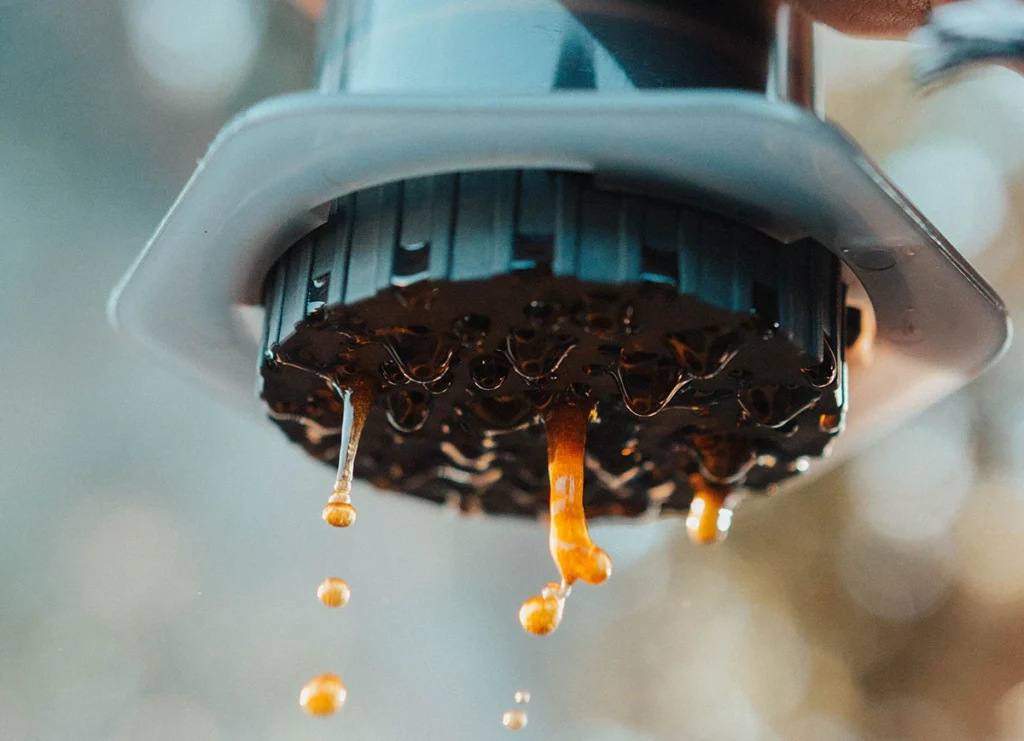
Clean-up in the backcountry typically involves conserving water and minimizing waste. The AeroPress excels here—after brewing, simply eject the compressed grounds, rinse briefly, and you’re ready for the next round. The watertight plunger prevents grounds from contaminating your brewing chamber. This efficiency proves invaluable when brewing at alpine lakes or remote campsites where water conservation matters.
The versatility of brew styles sets the AeroPress apart from other field methods. Create a rich espresso shot for an immediate caffeine infusion before breaking camp, or add hot water for a smooth Americano while watching evening alpenglow. You can even prepare cold brew in minutes when afternoon temperatures climb—a refreshing luxury after a challenging summit push.
A passionate community has developed around this brewing method, culminating in the annual AeroPress World Championship. Fellow outdoor enthusiasts continuously develop new techniques and share field-tested recipes, ensuring you’ll never exhaust the possibilities of this simple but ingenious device.
Essential Field Kit
AeroPress Go Coffee Maker: This article focuses on the Go version, but the original AeroPress works identically for brewing purposes—the Go simply offers better packability with its integrated mug system.
Metal Filter: While paper filters work perfectly, I recommend the reusable metal filter from Altura (“The Mesh”) for sustainability and simplicity. It eliminates the need to pack out wet used filters and costs around $10—a worthy investment that pays for itself quickly.
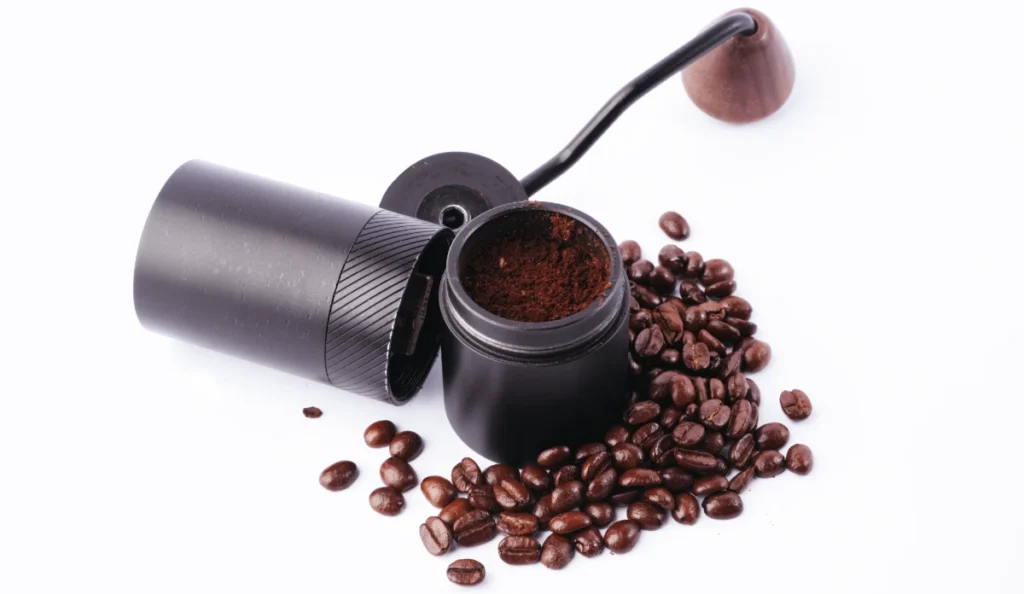
Hand Grinder: Fresh-ground beans elevate camp coffee from good to transcendent. The Java Presse Manual Coffee Grinder offers adjustable settings and convenient bean storage in a packable form. At $35, it represents the luxury addition to your kit but transforms your wilderness coffee experience.
Water Heating System: Whether you prefer the rapid boil of a Jetboil Flash or the versatility of a GSI Halulite Tea Kettle, your heating system should match your broader camp cooking strategy. Both perform admirably for coffee preparation.
Optional Mug: While the AeroPress Go includes a functional mug, longer mornings at basecamp may warrant something more insulated. A double-walled vessel like the Yeti maintains temperature during those extended moments watching the landscape transform in morning light.

Field Brewing Process
The AeroPress community has developed hundreds of brewing techniques, but this traditional method works reliably in field conditions:
- Grind beans to medium-fine consistency (similar to table salt)
- Remove plunger from chamber and place filter in cap
- Secure filter cap to chamber and position over your mug
- Add one rounded scoop (approximately 15 grams) of coffee
- Level grounds with a gentle shake
- Heat water to approximately 175°F (80°C)—just below boiling
- Pour enough water to saturate grounds and allow 10-second bloom
- Fill chamber to the “1” marking on the side
- Stir gently for 10 seconds to ensure even extraction
- Insert plunger and press with steady, gentle pressure
- Eject grounds, rinse components briefly
- Enjoy your perfectly brewed wilderness coffee
For espresso-style concentration, drink as is. For a traditional Americano, add hot water to reach your preferred strength.
The AeroPress Go packs away into its own integrated system, protecting components during travel. After use, a quick rinse and wipe-down is all that’s needed—perhaps the simplest cleanup of any brewing method available to the serious backcountry traveler.
I’ve witnessed sunrises from four continents with an AeroPress as my companion. The ritual of brewing becomes meditative—a moment of mindfulness before the day’s adventure unfolds. This simple device transforms an ordinary morning into something extraordinary, one perfect cup at a time.
